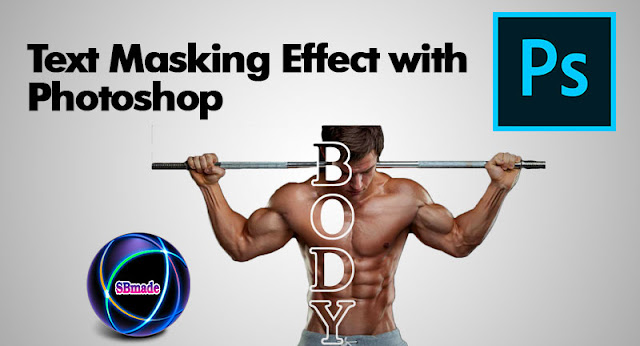
Using the Adobe Photoshop software, various designs are made.And Photoshop has the ability to edit photos beautifully.But it's different to the user's creativity.As before, we published lot of photoshop tutorials.There are various designs in them.So today, we will give you a new way to create your own photo.This method can surprise your friends.So you may be someone who has some idea about this method.But many people do not know.So let's move these tutorials as a step further today.
It's important to be able to make sense of it before you create it.So at the end of this design, you can get a real photo.You can also use it anywhere.Also, below is the photo we hope to create today in the tutorial.Have a look at it first.
 |
| Text Masking Effect image with Photoshop |
Now you know what was created today.Next, explain to you how to create it.If so, continue to stay with us and learn these things.Here we are teaching the way we have been designed.So let's see how to create a text Masking Effect image with Photoshop.
1. First, open the adobe photoshop and press CTRL + N.Next customize the new page and click OK.There will be a blank page.Its background is white and it is important for this design.Next, press CTRL + O to add image for photoshop.The following image was used for design.
 |
| Get new page and add image |
2.Next in the layer tab,A layer called Background can be seen.Double click on that layer and OK.Now the other layer should be named "0".It's for our convenience.
3.The next step is to separate the man of the picture.Click the "0" layer and get the Quick selection tool.Next, select only the man body.Next you need to click the Refine Edge button and customize the selected part.Click on OK.
 |
| Select and Customize with Refine Edge |
4.The next selection is displayed.Now you have to take a layer mask.Click on the layer mask icon.
 |
| Get layer mask |
5.Then press CTRL + J to copy the "0" layer.Here we get a new layer "0 copy".Then drag the layer "0 copy" and drag it to the lowest layer.However, layers should be arranged in the following image.
 |
| Copy layer and drag to down |
6.Then click the "0" layer and set the size with CTRL + T.Then click OK.Next we get the Vertical Type Tool and type BODY.Use the Move Tool and drag text to the image.Then click on the "0" layer mask and get the Brush Tool.Then brush on the words BODY.
 |
| Type text and use brush tool |
7.Next with the CTRL, click on the Text layer.It will select the text BODY.Next go to the Select tab >> Modify >> Expand.Select the size and click OK.
 |
| Expand Text |
8.Then the BODY text line is selected round.Next click on ALT + Backspace.Then, the BODY text rounds will be colored.Then press CTRL + D to deselect.
 |
| Colored Text Round |
9.Now click "0" layer and press CTRL + J.Then move the layer to the top.Then right click on the same layer in the layer mask and select Delete layer mask.Where the layer mask will be removed.Then right click on the top "0 copy 2" layer and select Create Clipping Mask.Then you can see the image on the BODY word.
 |
| Complete Text Masking Effect |
10.Next you can use the Horizontal Type Tool to add text.In the end, you can create an excellent photo.
However, if you do not understand the above, see the video below.
READ:
- 3D Lion Logo Design with photoshop
- An old love couple in snow background with photohop
- Adobe Photoshop CS5 Tools Explanation.
- How to Whiten or Lighten Skin with Photoshop
- How to Enable Camera Raw in Adobe Photoshop Cs
So you know about Create Text Masking Effect image with Photoshop, Hope you like the post, don’t forget to share it with your friends and leave a comment below if you are facing any problem at any step in the method discussed above.Thank you.
最後に… このブログに興味を持っていただけた方は、 ぜひ 「Facebookページ に いいね!」または 「Twitter の フォロー」 お願いします!!